
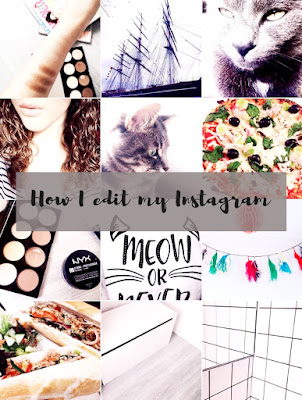
How I edit my Instagram
One of my favourite things at the moment is Instagram. I love scrolling through my feed and seeing all these pretty pictures of makeup and outfits. I try so hard to keep up a 'theme' but it never really sticks, so I'm always trying something new out. Recently, I have had a lot of people ask me how I edit my Instagram Pictures, so this post is just a quick one to explain how I do it!
 I use 3 apps; one being Instagram (Obviously), the other VSCO and lastly InstaVogue.
Firstly, I open up InstaVogue and I use the whitening tool to make the photo more of a white balance rather than a yellowy undertone. I choose the biggest brush and swipe my finger over the image to change the white balance.


Firstly, I open up InstaVogue and I use the whitening tool to make the photo more of a white balance rather than a yellowy undertone. I choose the biggest brush and swipe my finger over the image to change the white balance.

I then open the image on VSCO; add the 'G3' portaits filter and change it to number 6. I then change the contrast to +1, straighten the image if I need to, change the saturation to -2, change the tint to +4 and lastly, save the image to my camera roll.

After I am happy with the editing so far, I open the image on the Instagram editor. I don't really have any specific numbers that I change everything to, but I usually change; the LUX, brightness, contrast, saturation, highlights and shadows, until I am happy with the image.

And that's it!
So simple!
If you want more ways of editing your images using VSCO then all you need to do is click this link which will lead you to some themes!
I hope you liked this post and you found it useful.
Don't forget to follow me on Instagram >>> instagram.com/petalsofperfection
Be sure to leave your Instagram links below so I can go give you a follow :)


Comments
Post a Comment